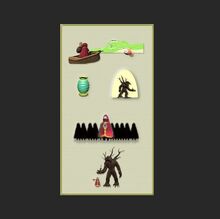
Design[]
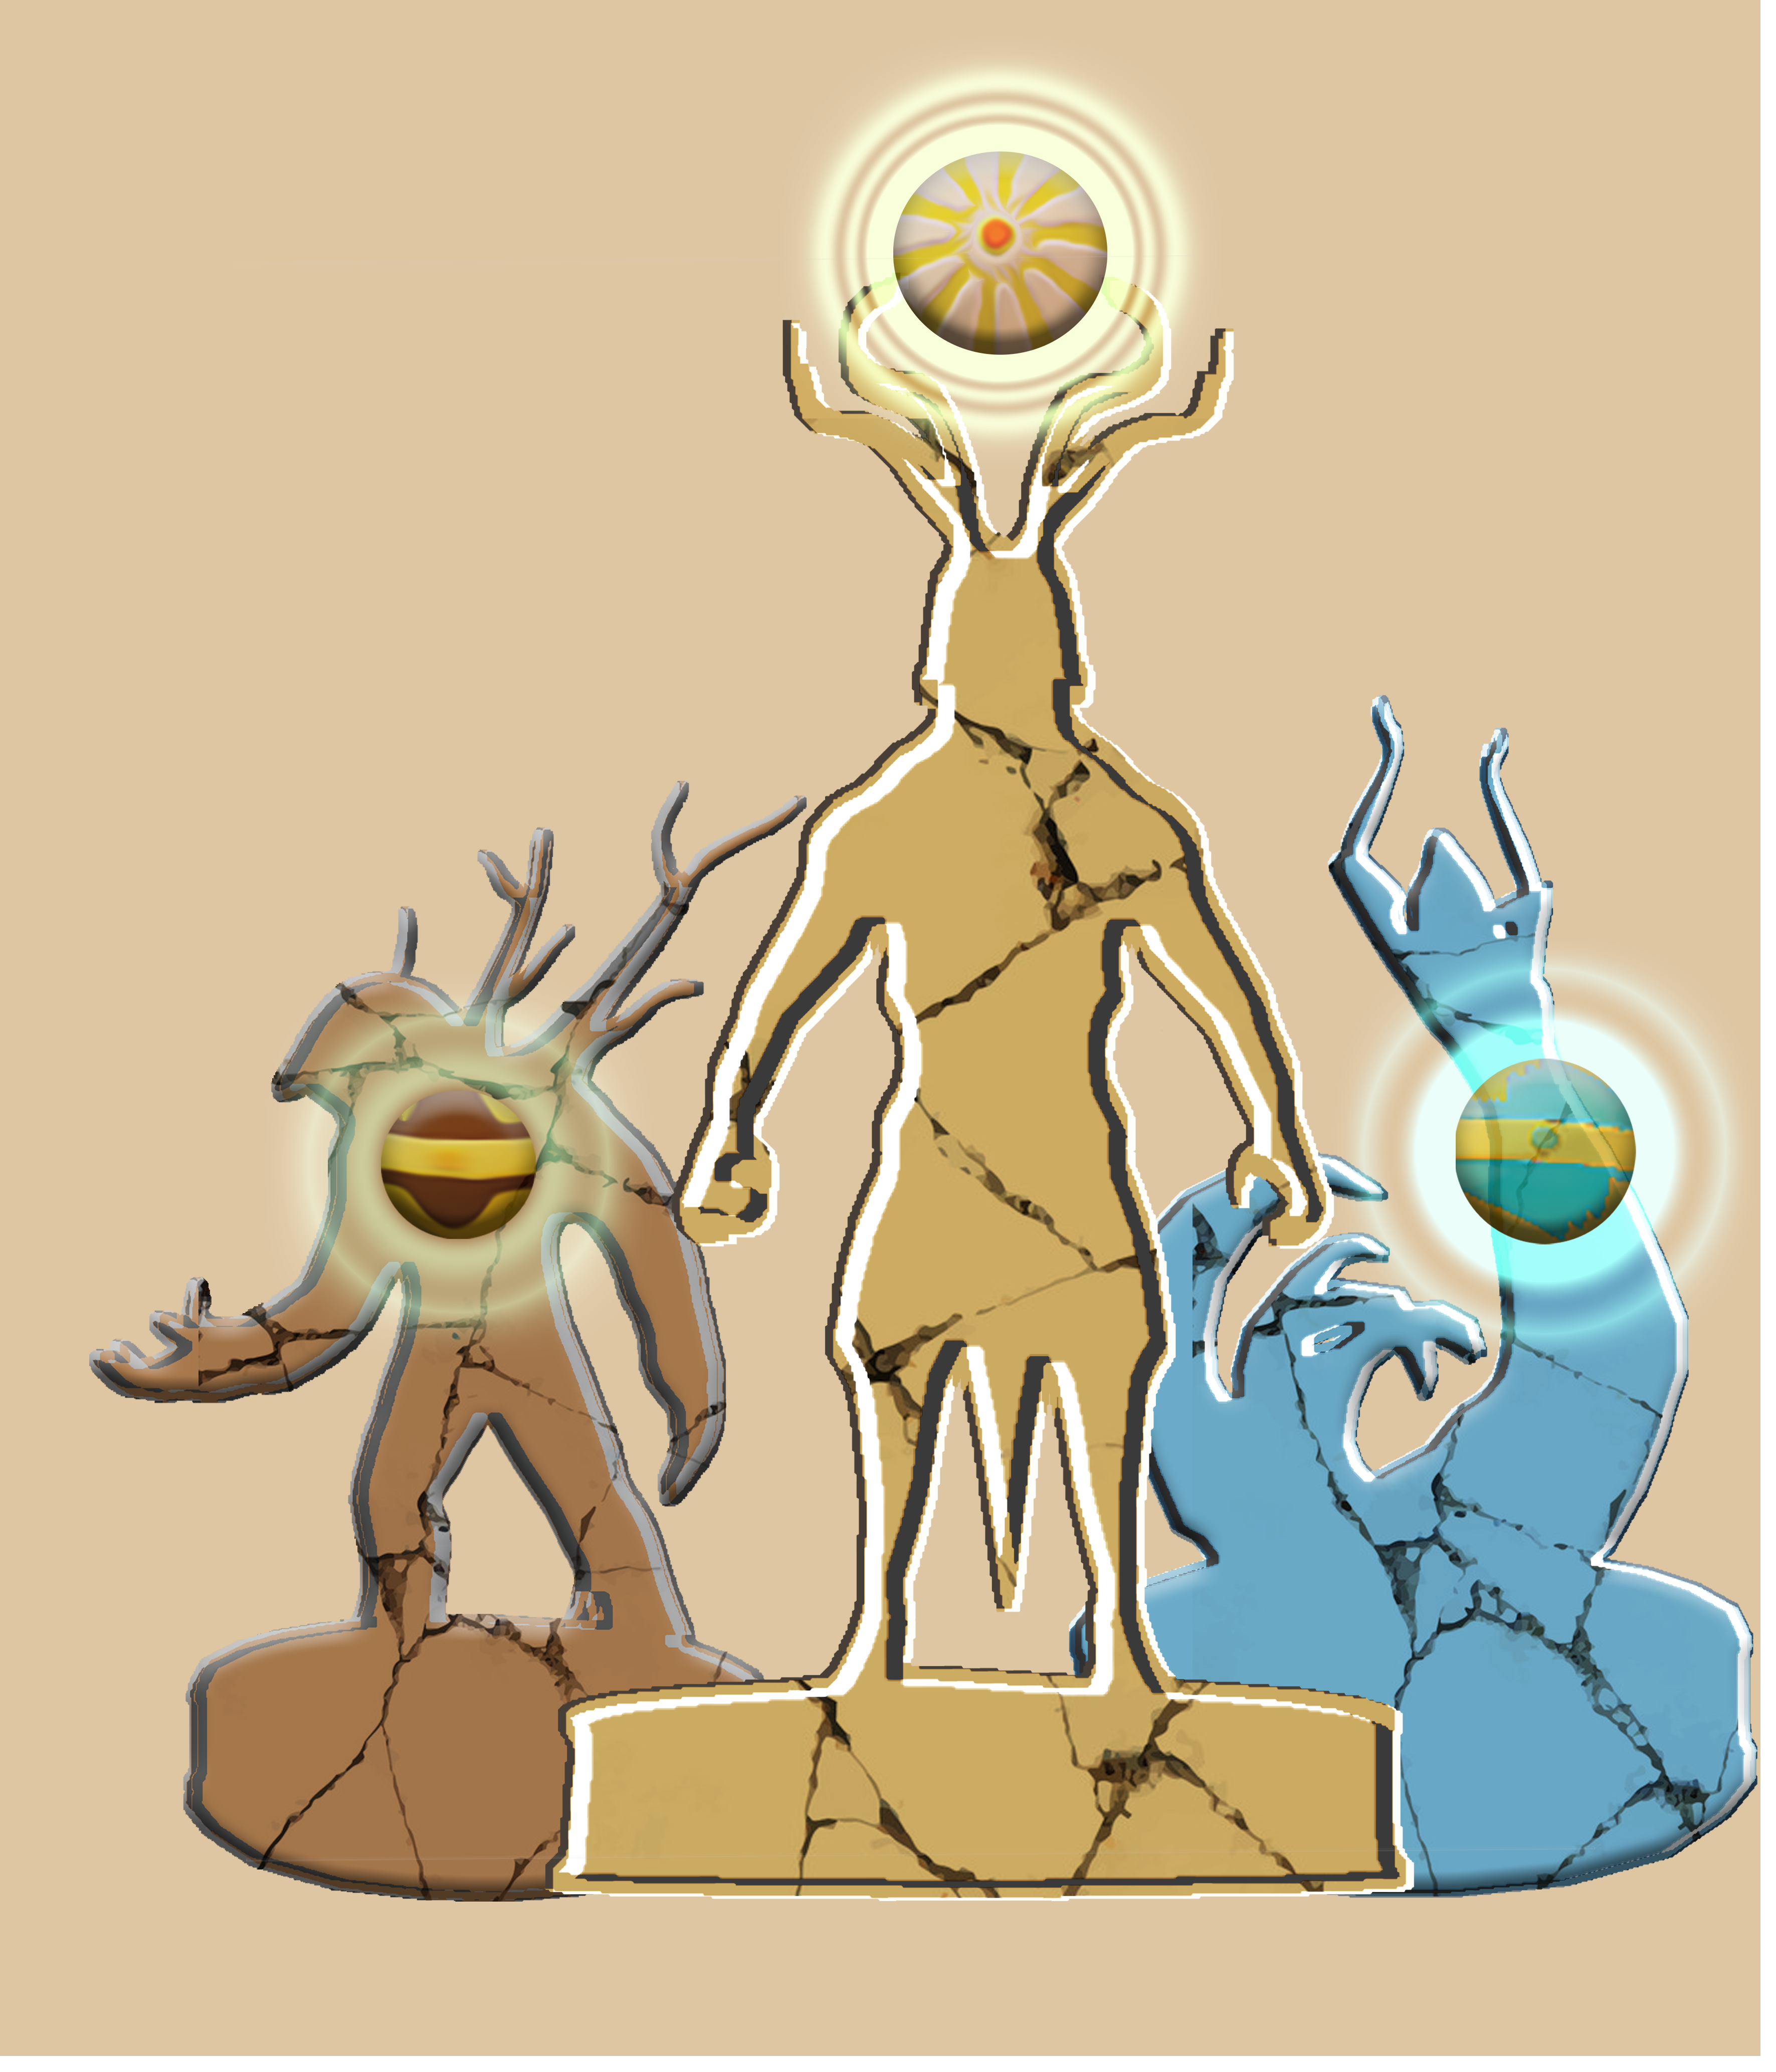
"Before the downfall of the world, the resting place was a pilgrimage site. People were coming from all over the world to admire the monument, tangible proof of the universe genesis by the Gods.
Every part of the installation is linked to a part of the myth. The sundial refers to the passage of time, the vases to the earth moulding, and the basins to the creative force of water. An important part of this pilgrimage was to consult the oracle, who used to dwell in front of the pillars."
The above quote was created by Safya Devatour.
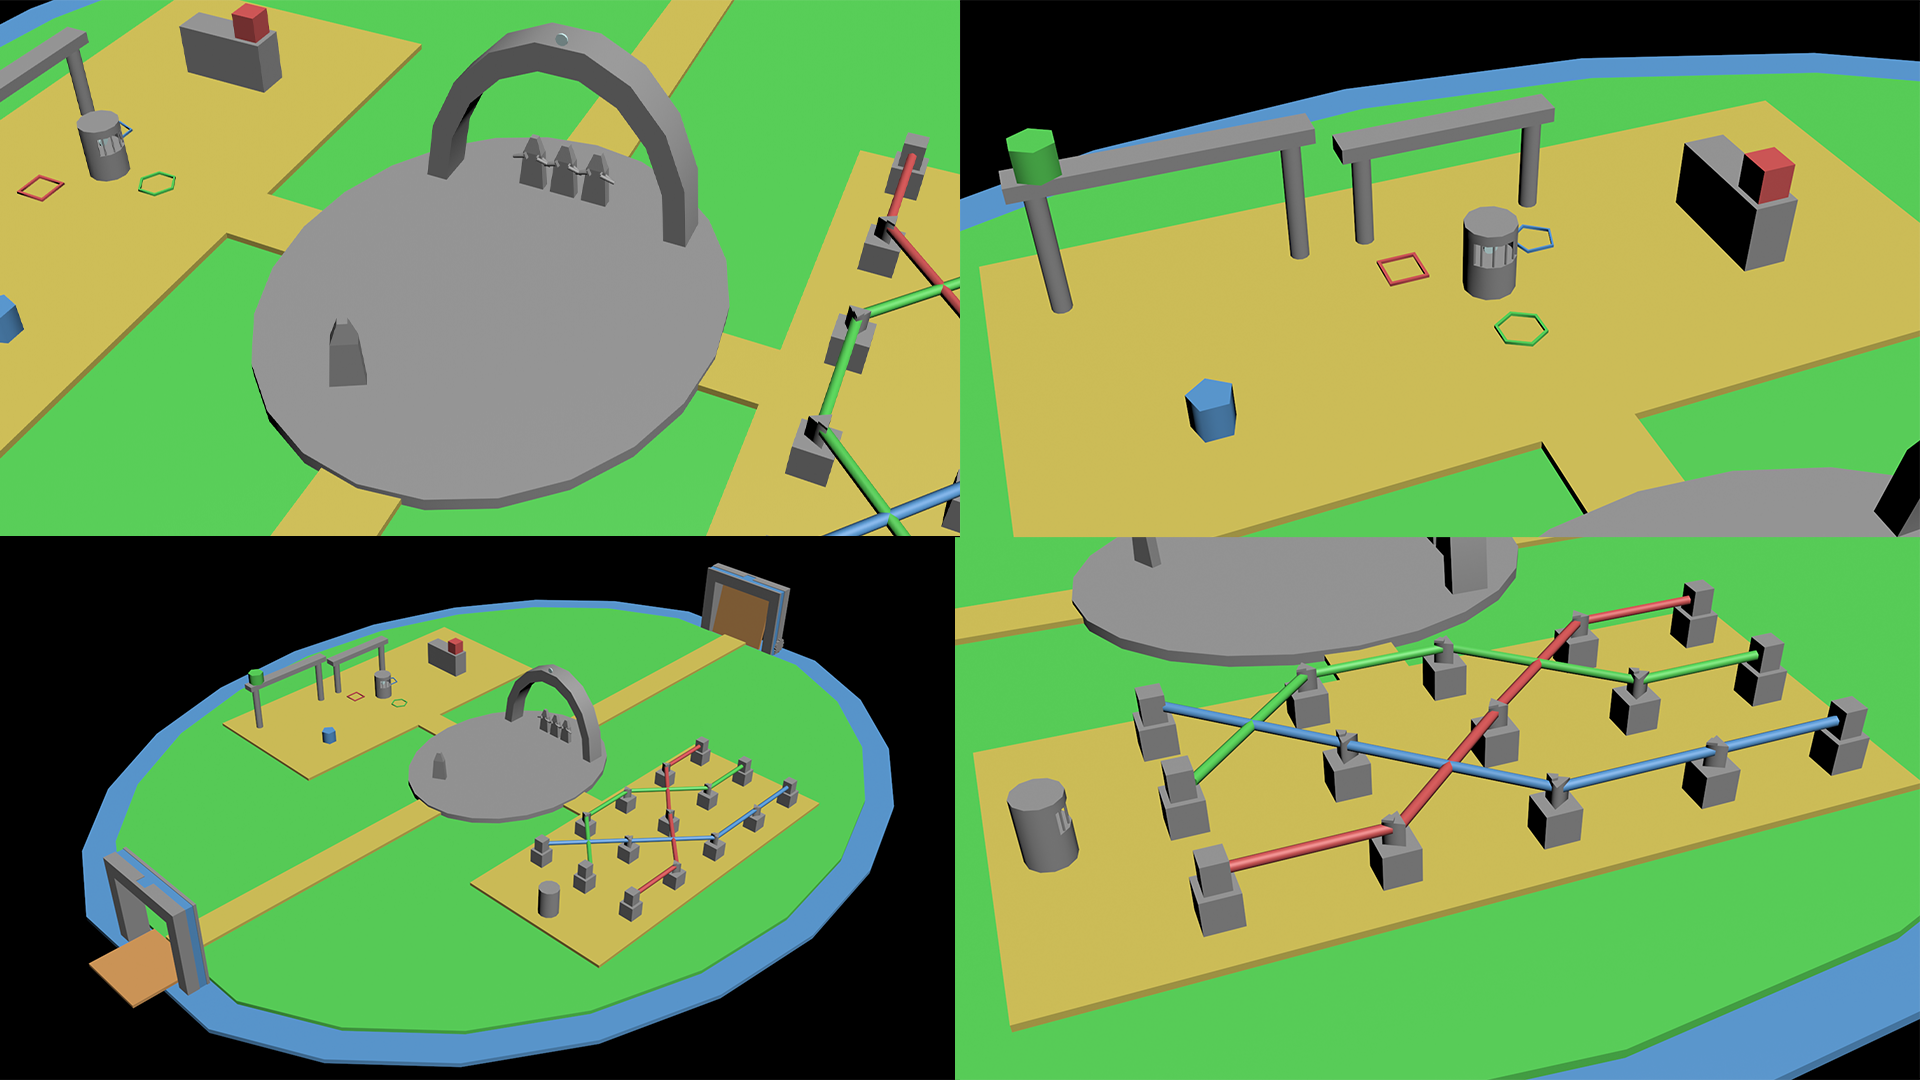
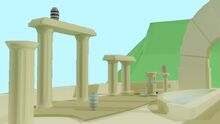
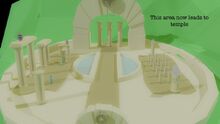
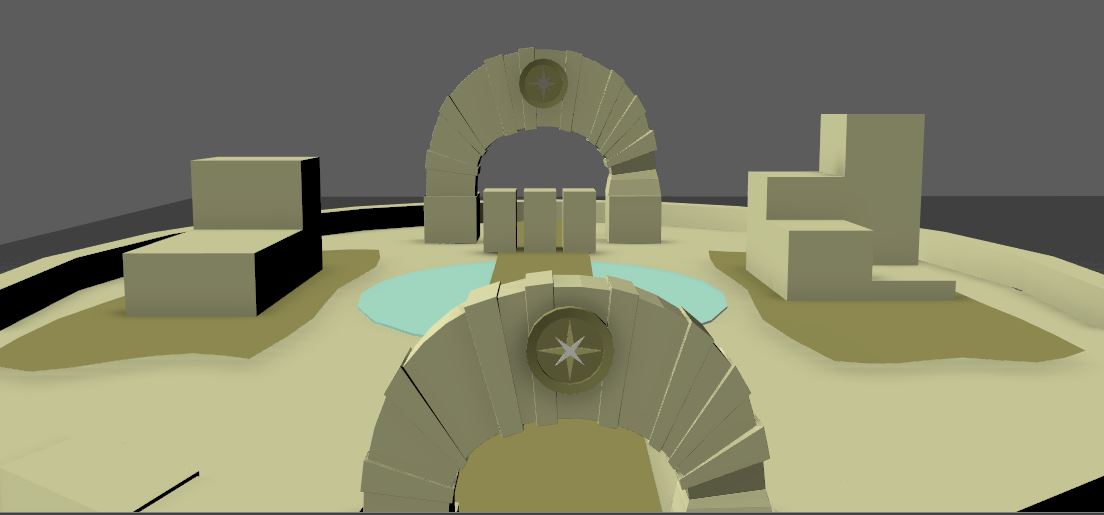
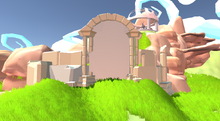
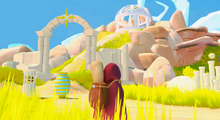
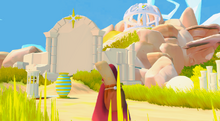
Originally designed as an oval shape area that holds the island's puzzles. The area features two archways, one where the player enters the Resting Place and one larger one where the player exits to head to the Temple of Life. To the left of the entrance stands a few pillars that creates the scene for the first puzzle that requires some platforming of the puzzle. The right of the entrance stands a collection of small podiums that makes the area and mechanics of the second puzzle.
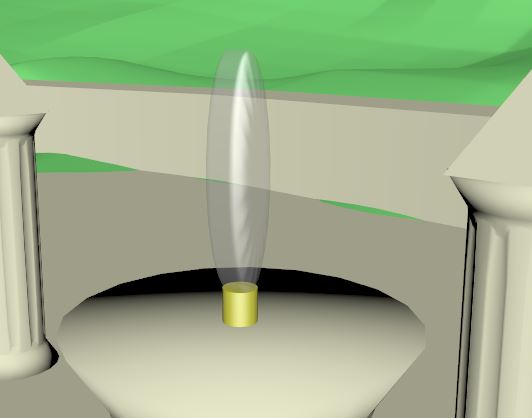
Upon entry and the player coming into proximity with the larger archway, the companion will knock down the first orb, allowing the player to collect it.
However this design has changed, the design now takes place in an open grassy area with smaller oval area containing many pillars and the first orb to collect in the centre of this grassy area. On the right of the grassy area is the light puzzle in the same design as before and on the left the platforming puzzle with a similar design as before.
Puzzles[]
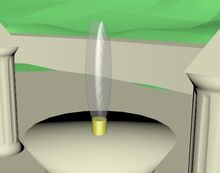
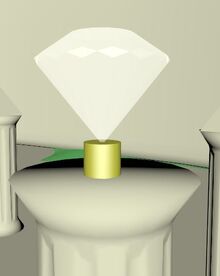
The puzzles in the game require the player to do a set of tasks that make use of the player's problem solving skills, successfully completing each puzzle will release an orb. Each orb that the player collects lowers the wall blocking them from the Temple of Life. The first orb that the player will be able to access immediately will be found in the oval area on top of some pillars. This orb will not require the player to do anything but will be supplied to the player via the companion knocking the orb to the ground.
The First Puzzle[]
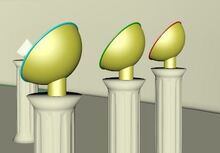
The puzzle to acquire the second orb requires the player to do some searching around the island to collect all the vases and place them in the correct area for the orb to be released.
Originally planned, the vases were going to have text on them, however this has not made it to the demo version of the game.
Written on each vase:
- The humans worshipped Rapeht in hopes of glimpsing visions of the future, a sense of guidance and warmth in the hard winter.
- The humans worshipped Hydeya to ask for peaceful travel, protection from storms and to maintain sources of water to survive.
- The humans worshipped Grintur for stable land, hardiness in the face of hardship and bountiful crops.
Appears once all the blocks are in place:
- Eventually, Grintur retired from the world to his home realm. No human knows why.
The Second Puzzle[]
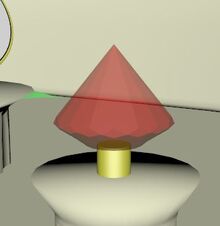
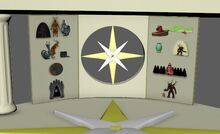
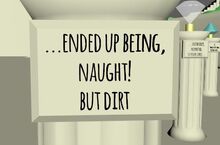
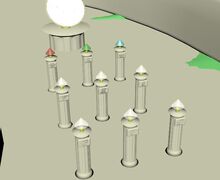
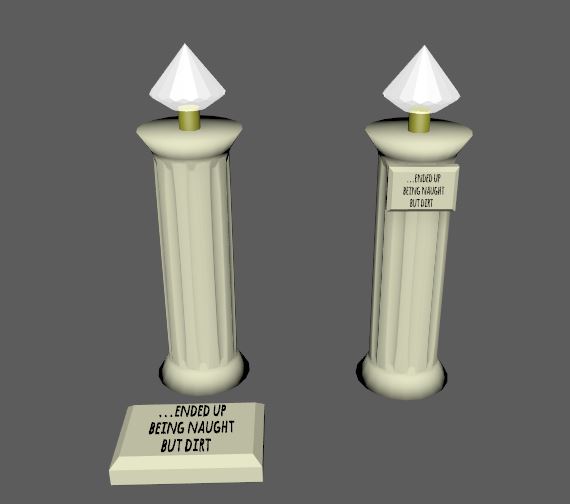
To acquire the final orb the player must solve a “light beam” puzzle. The player must guide all the coloured light to the end appropriate block. Each “light beam” will only be able to reach the appropriate end block via one route only. This will release the final orb and the player can place it into the statues hand, thus completing the puzzle.
The player will be able to move the direction of the “light beams” by standing on pressure switches. On each of the pedestals that reflects the “light beam” there will be some script that the player can interact with, interacting with the script will allow the player to read a part of a poem. The poems are based on the relationship between the in-game Gods and humans. There will be three rows of pedestals and three poems. Each poem will be split into three, and with each pedestal having a piece of a poem, the player then must connect the light from the appropriate pedestals to complete the puzzle. The first row contains all three poem beginnings, the second row will have the middle sections of the poem and the third row will be have the endings of the poems.
The poems were designed by Sayfa Devatour and are as follows:
First poem (A1 – A2 – A3)
- A1: O Golem, the wrong gamble, you made
- A2: On the gambolling, remaining, dust
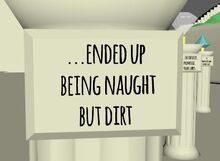
- A3: Ending up being, naught! But dirt
Second poem (B1 – B2– B3)
- B1: O nymph! Am I, but wholly yours?
- B2: Faithfully, promised, to your lures,
- B3: By your touch, I wept for I am cured.
Third poem (C1 – C2 – C3)
- C1: O, your fiery flares, several tales
- C2: I fell, helpless, I hailed!
- C3: And you, without haste, laid me to rest
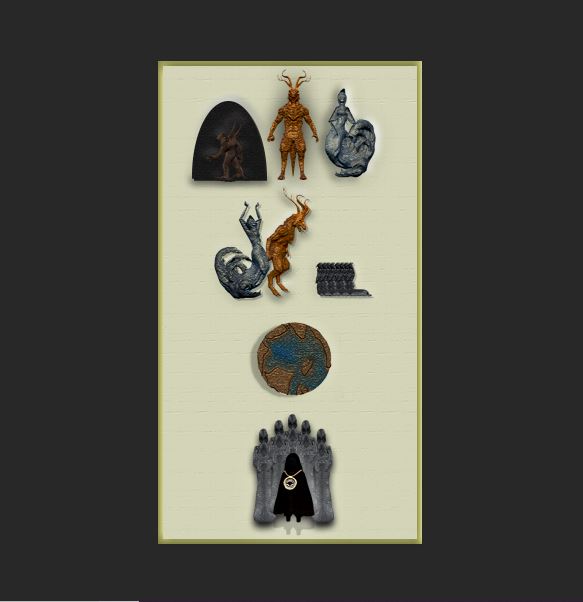
The Resting Place Art []
Developed by Sean McCann

Developed by Amy McDaid

Developed by Amy McDaid

Developed by Amy McDaid

Developed by Amy McDaid
Developed by Amy McDaid

Developed by Amy McDaid

Developed by Amy McDaid

Developed by Amy McDaid

Developed by Amy McDaid

Developed by Amy McDaid


Developed by Amy McDaid

Developed by Amy McDaid

Developed by Amy McDaid

Developed by Amy McDaid


.jpg)
Developed by Amy McDaid

Developed by Amy McDaid

Developed by Amy McDaid

Developed by Amy McDaid

Developed by Amy McDaid
Developed by Laura Smith

Wall created by Dan

.png)


